Plant cloning - perfect genetic replicas
Plant cloning is one of the most effective practices in modern horticulture to achieve predictable results. This process allows growers – whether hobby gardeners or professional growers – to create genetically identical plants from already proven mothers. With the right approach, a high degree of success, optimal growth and control over the qualities of the new plants can be achieved.
In this blog post, we will take a step-by-step look at the entire process, equipment, disinfection and hygiene procedures, as well as good practices to achieve maximum efficiency when cloning plants.
1. What is plant cloning?
Plant cloning, also known as vegetative propagation, is the process of creating a new plant from a part of the parent plant – usually a shoot or side shoot. This new plant unit (clone) retains the genetic characteristics of the parent plant.
The method is preferred for crops where we wish to preserve specific qualities such as resistance, rapid growth, yield or decorative characteristics.
2. Required tools and materials
(you can buy all or some of the necessary products at the end of this article)
To organize an effective and safe cloning procedure, it is advisable to use a specialized work area or cart containing:
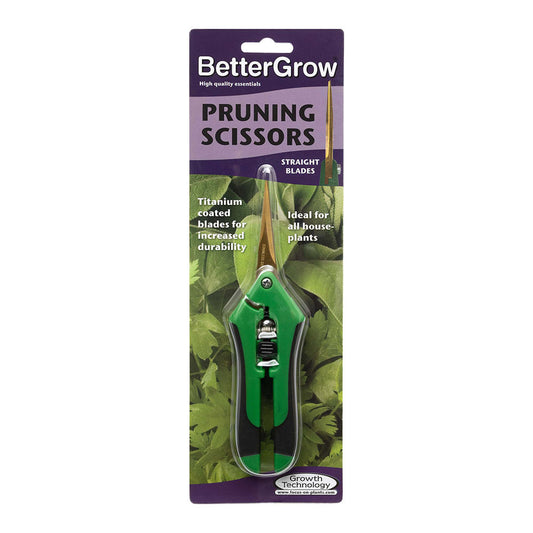
- Clean scissors or scalpels – one for each plant.
- Two containers (e.g. buckets) of different colors – one for clean instruments, the other for used ones.
- 10% bleach solution – for disinfecting instruments.
- Pure water (reverse osmosis) – for rinsing after bleaching.
-
Sprayers with colored caps – for different purposes:
- Green cap: Vegetative fertilizer (EC 1.5, pH 6.5).
- Red cap: White (10%).
- Blue cap: Isopropyl alcohol (70%).
- Paper towels or microfiber towels – for cleaning residue on instruments.
- Stopwatch – to measure disinfection time (usually 1 minute).
- Gloves – change between plants or varieties.
- Humidifier dome with ventilation holes – to retain moisture during rooting.
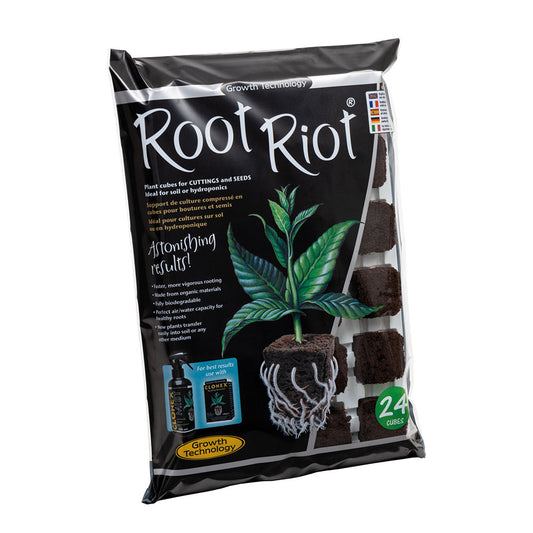
- Tray with substrate or rooting pellets .
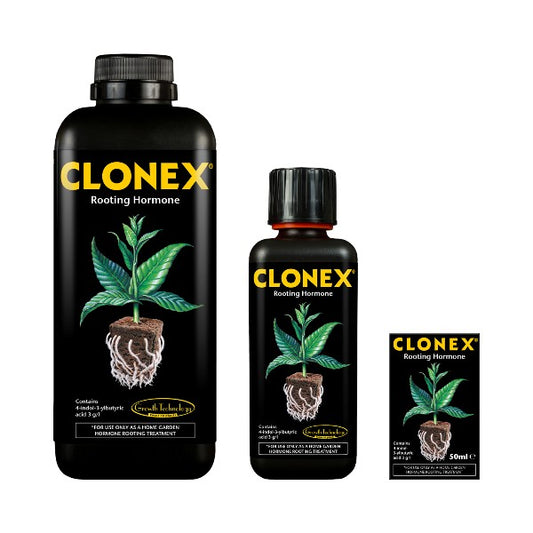
- Hormonal rooting gel – to stimulate root formation.
- Marker and labels – for accurate labeling of varieties and dates.
3. Hygiene and Safety: Why They Are Critically Important
It is extremely important to maintain hygiene at every step. Contamination between plants, especially through tools, can spread pathogens. Therefore:
- One tool is used for only one plant.
- After use, the scissors are dipped in a bucket of 10% bleach solution.
- After 1 minute of disinfection, the instrument is rinsed with clean water and returned to the “clean” bucket.
Tip: Always spray gloves with a 10% bleach solution and let them air dry before touching a new plant.
4. Selection of suitable cuttings (clones)
Choosing the right cuttings is a key factor for success:
- Choose a healthy, actively growing mother with a clean growth history.
- Take cuttings from the tops (apical shoots) as they contain a more favorable hormonal profile for rooting.
- The cuttings should be:
- About 10–12 cm long.
- With at least two to three fully developed leaves .
- No signs of disease, yellowing or pests.
Tip: Do not cut more than 30–40% of the above-ground part of the mother plant at once. If necessary, do this in stages.
5. Preparing the cuttings
- Spray each cutting with vegetative fertilizer immediately after cutting – this maintains internal pressure in the cells and reduces stress.
- Keep the cuttings in a container of clean water while you prepare them.
- Final Cut : Just before dipping in hormone gel, make a clean 45° cut on the stem.
- Remove excess foliage – if the leaves are large and there is a risk of overlapping, trim their tips or remove some completely.
According to a 2018 study by a university group, the highest rooting success rate is achieved when cuttings have 2-3 fully developed leaves. Cutting off the tips of the leaves can reduce the rooting rate unless it is dictated by lack of space.
6. Dipping in hormone gel and planting
- Use a separate container for each treatment – never dip directly into the main jar of gel .
- Dip the bottom of the cutting about 1–2 cm into the hormone gel. Clonex is the standard for high quality.
- Carefully insert it into the substrate without applying excessive pressure.
- Check that it is stable by pulling it slightly.
7. Arrangement and care of clones
Once the tray is filled:
- Check that the leaves are not overlapping – overlapping creates a microclimate that can lead to mold.
- Pay attention to whether some clones shade others – it is important to achieve the same height of the clones in the dome.
- Sprinkle fertilizer lightly on top and place the dome.
The dome:
- Maintains high humidity.
- Ventilation should be minimal at first, then gradually increased.
- High humidity speeds up rooting, but can increase the risk of mold if there is no ventilation.
8. Environmental monitoring and optimization
The conditions in the rooting room must be carefully monitored:
- Temperature: 22–25°C.
- Humidity: 70–85%.
- Light: 100–150 PPFD.
- Ventilation: Moderate, with gradual increase.
9. Tracking results and performance
To optimize the process:
- Create a standard for cutting height and amount of foliage.
- Keep a record – labels, dates, origin from which mother, gel used, and rooting conditions.
10. Common mistakes when cloning plants
- Poor hygiene – using the same scissors for different plants.
- Too much leaf mass – increases evaporation and the risk of loss of intracellular pressure.
- Planting too shallow or deep .
- Weak or too strong light – slows down rooting or leads to drying.
- Insufficient ventilation in the dome - leads to mold.
11. Conclusion
Plant cloning is an art and science that requires attention to detail, perseverance, and good organization. By following good practices, maintaining sterility, and using the right tools, any gardener – whether beginner or professional – can enjoy high success in this process.
Gradinar.bg recommends experimenting with different approaches and monitoring the results carefully to improve over time. When the process is standardized, cloning can become not only successful, but also a productive habit in any garden.
If you would like additional guidance, tools, or personalized recommendations for plant cloning , our team is here to help. Visit Gradinar.bg for more useful articles and products for your garden!


